Home Office Lighting and Glare Setup for Video Calls and Eye Comfort
A practical remote-work lighting plan: window placement, monitor glare checks, task lamps, camera lighting, and a two-minute call routine.
Updated May 26, 2026. Lighting is not only about looking better on camera. It affects glare, posture, eye comfort, meeting fatigue, and whether your webcam keeps hunting between bright windows and a dark face. This guide uses workplace ergonomics and platform-support sources as a practical setup checklist, not as medical advice.
Remote workers often buy a webcam or ring light when the real problem is geometry. A bright window behind you makes your face dark. A bright window in front of you causes squinting. A lamp pointed at the monitor creates reflections. The best setup balances three zones: the screen, your face, and the background.
The lighting stack
| Zone | Goal | Good sign | Common mistake |
|---|---|---|---|
| Window | Soft side light, not direct glare | Face is visible without squinting | Desk faces or backs directly to window |
| Monitor | Comfortable brightness | Screen is clear with no reflected lamp | Room is dark but monitor is very bright |
| Task lamp | Light papers/keyboard | Light falls beside the monitor | Lamp points into eyes or screen |
| Camera | Even face exposure | Preview looks natural | Ring light reflection in glasses |
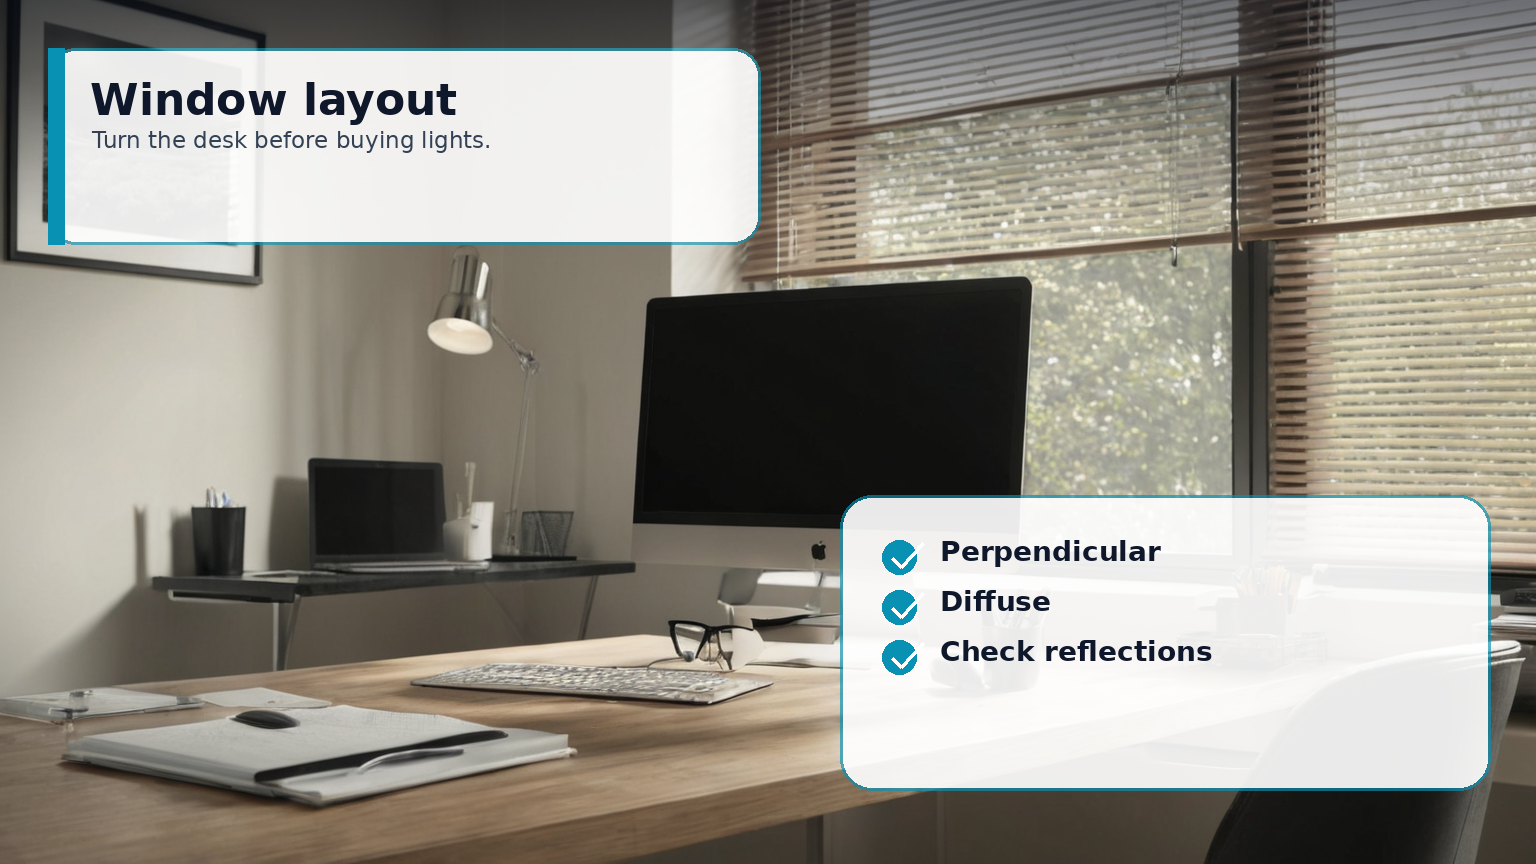
Step 1: move the desk before buying gear
Put the monitor roughly perpendicular to the strongest window when possible. Use blinds, curtains, or diffusion to soften direct sun. Then sit in your normal posture and look for reflections on the screen. If you need to lean, tilt, or raise your chin to dodge glare, the layout is making you work too hard.
OSHA workstation guidance emphasizes monitor placement, viewing comfort, and reducing awkward postures. Lighting is part of that system: glare often causes the body to compensate with neck extension, shoulder tension, or a twisted viewing angle.
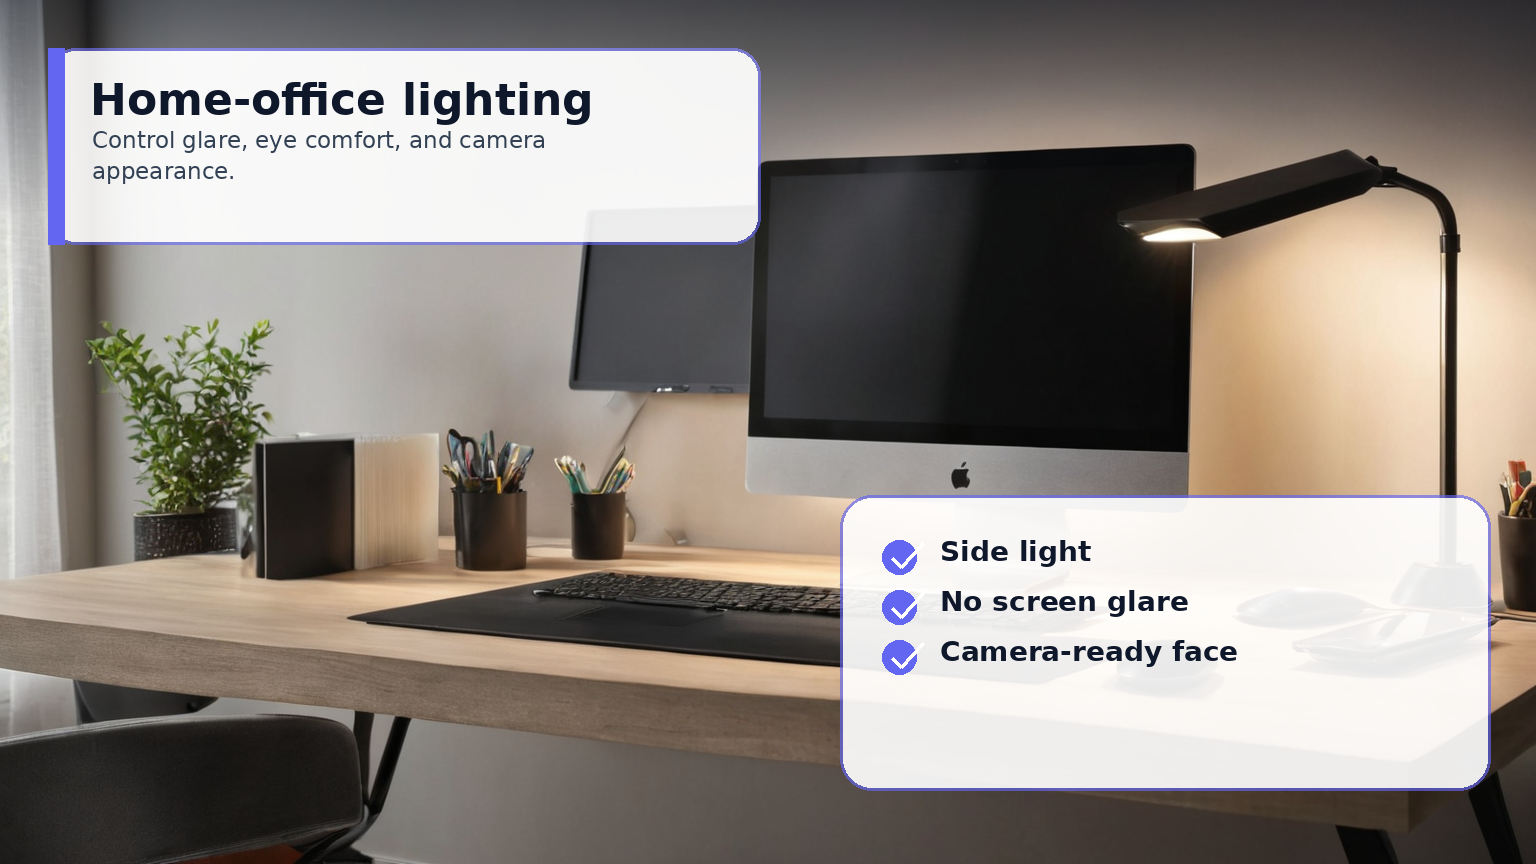
Step 2: separate task light from camera light
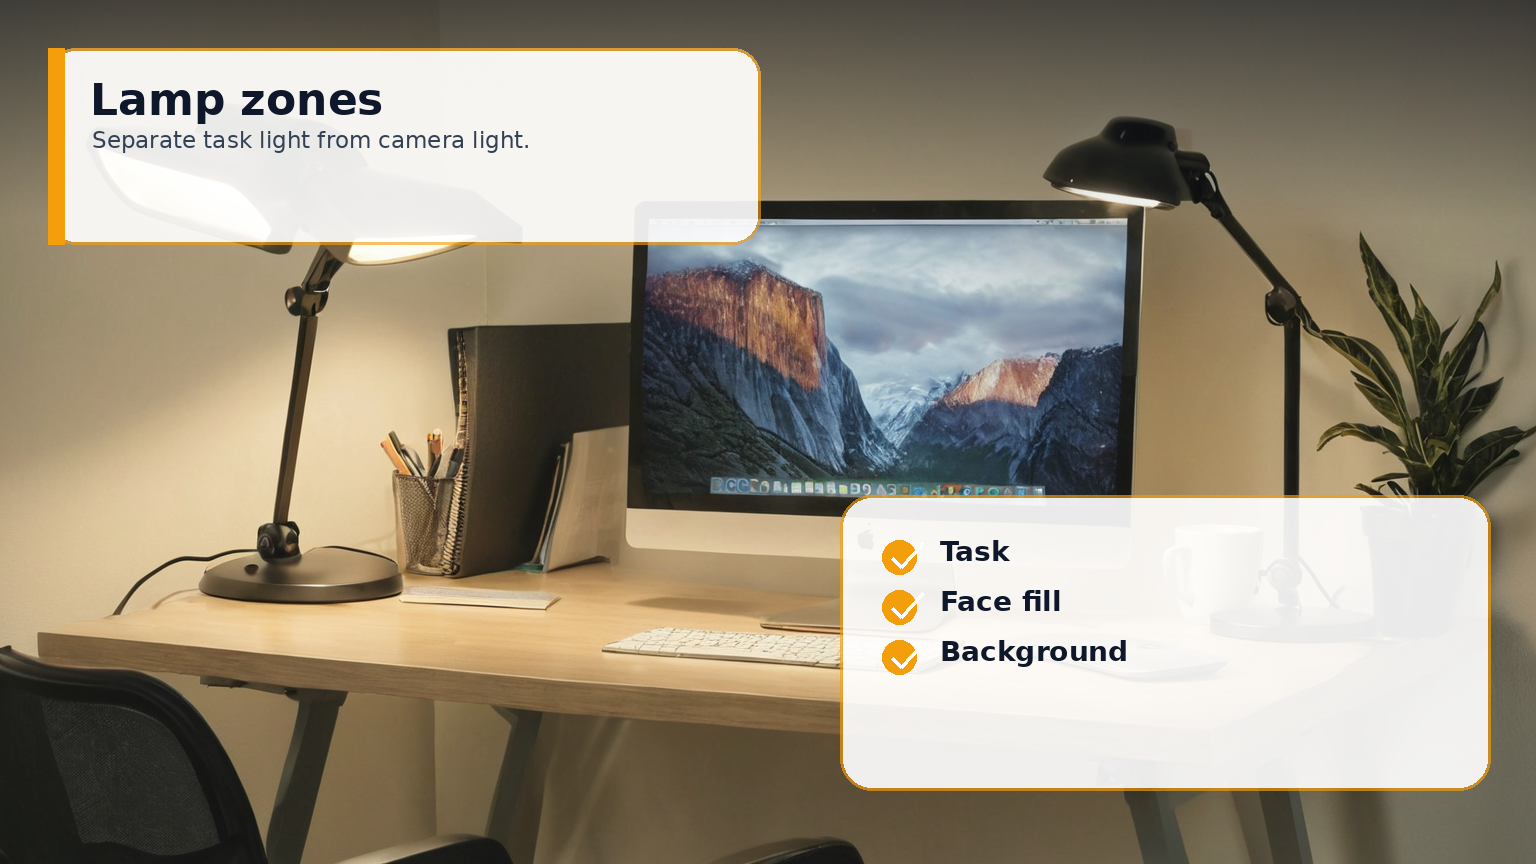
A task lamp should light documents, notes, or the keyboard without bouncing into the monitor. A camera fill light should soften shadows on your face. Those can be the same lamp only if it is adjustable and diffused. If you wear glasses, move the light higher and slightly off-axis; the goal is a catchlight, not a white rectangle reflected in the lens.
For calls, avoid lighting only from below or only from the monitor. It creates unflattering shadows and pushes webcams to over-process the image. A modest side/front lamp plus ambient room light usually looks more natural.
Step 3: match monitor brightness to the room
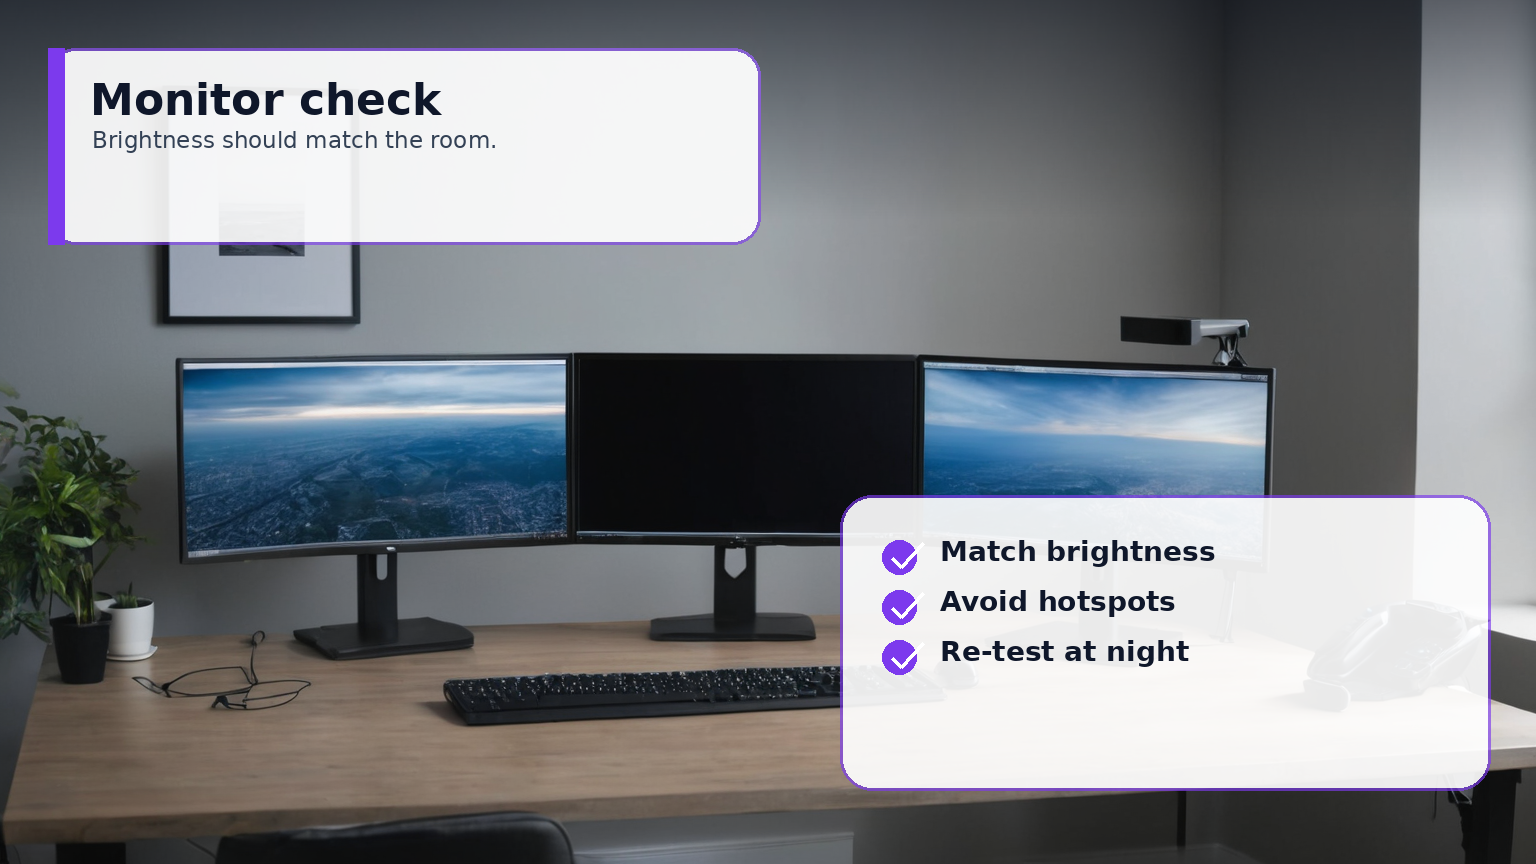
If the monitor is the brightest object in a dark room, your eyes keep adapting between screen and surroundings. If the room is very bright, you may raise screen brightness and still fight reflections. Use a simple test: display a white document, look away at the wall, then back at the screen. If the screen feels like a flashlight or a gray mirror, adjust room light, blinds, or brightness.
Step 4: build a day-night preset
Remote workers need at least two presets because daylight changes. Create a daytime setting with window diffusion and a weaker lamp, then an evening setting with more ambient light and a warmer task lamp. Save webcam settings only after the physical setup is stable.
Two-minute pre-call routine
- Open camera preview.
- Check for window blowout behind you.
- Check monitor and glasses reflections.
- Angle the lamp toward your face, not the screen.
- Set meeting-app audio cleanup only after the room is visually and acoustically stable.
The point is repeatability. When the room, monitor, and camera zones stop fighting each other, you spend less attention on your setup and more on the work.