Home Office Acoustics for Video Calls: Fix Echo, Noise, and Speech Clarity
A practical, research-backed guide to tuning a home office for clearer video-call audio with layout, soft surfaces, mic placement, and meeting-app settings.
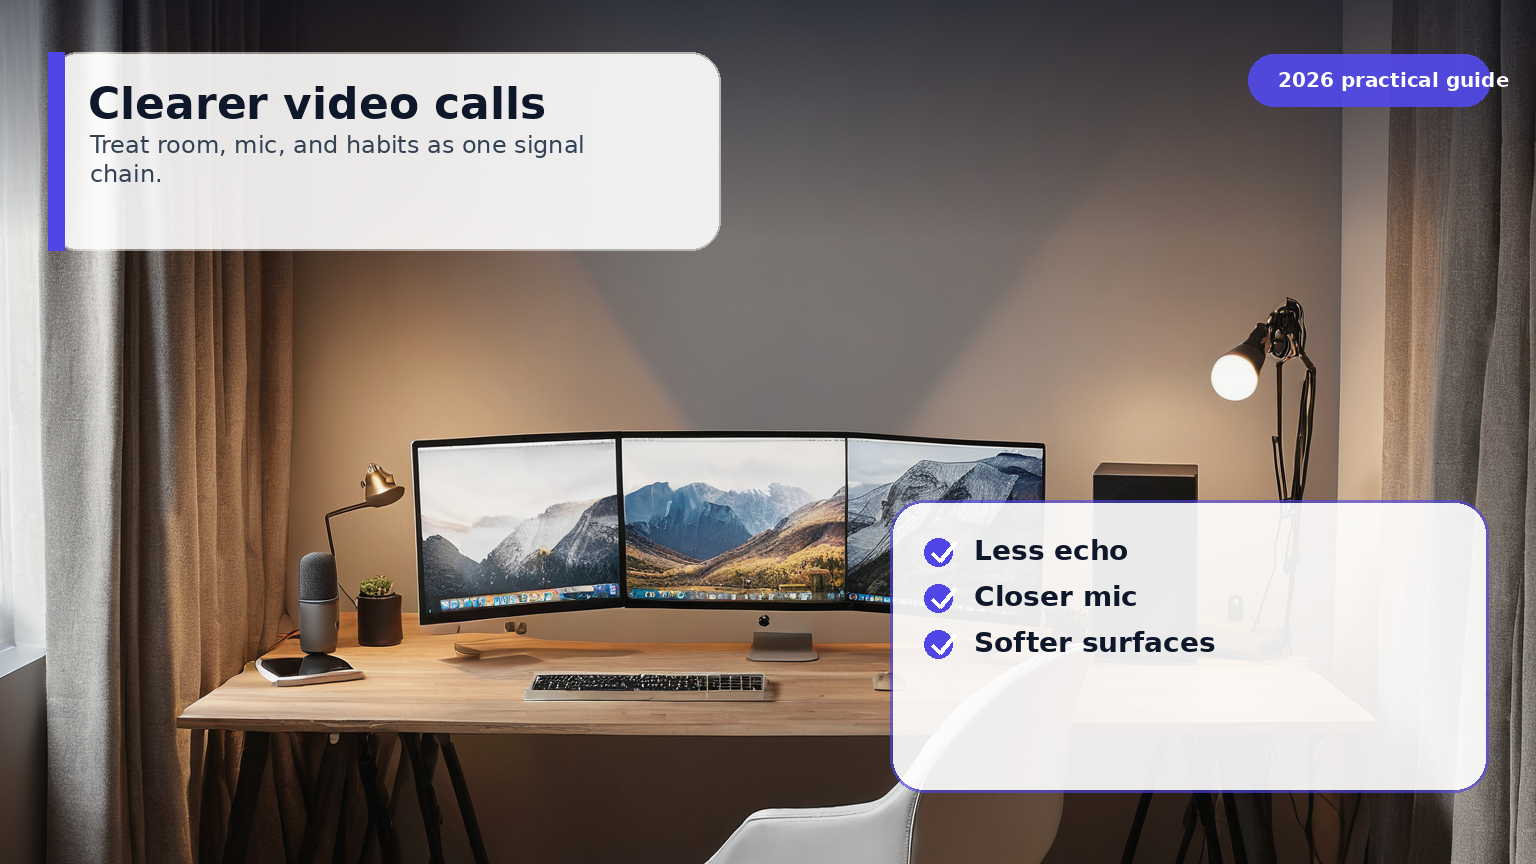
Remote work audio is usually treated as a microphone shopping problem. That is only half true. A good microphone in a reflective, noisy room still sends harsh consonants, keyboard clicks, fan rumble, and hollow echo to everyone else on the call. A modest headset in a controlled room can sound more professional than an expensive desktop mic sitting three feet away on a bare desk.
This guide is a practical acoustic reset for remote workers, managers, coaches, and creators who spend many hours in Zoom, Teams, Meet, Slack huddles, or recorded walkthroughs. It uses current safety and platform guidance from CDC NIOSH, OSHA, Microsoft, Zoom, Google, and EPA sources, then turns it into a room-by-room checklist that does not require studio construction.
The call-quality stack: room first, mic second, software third
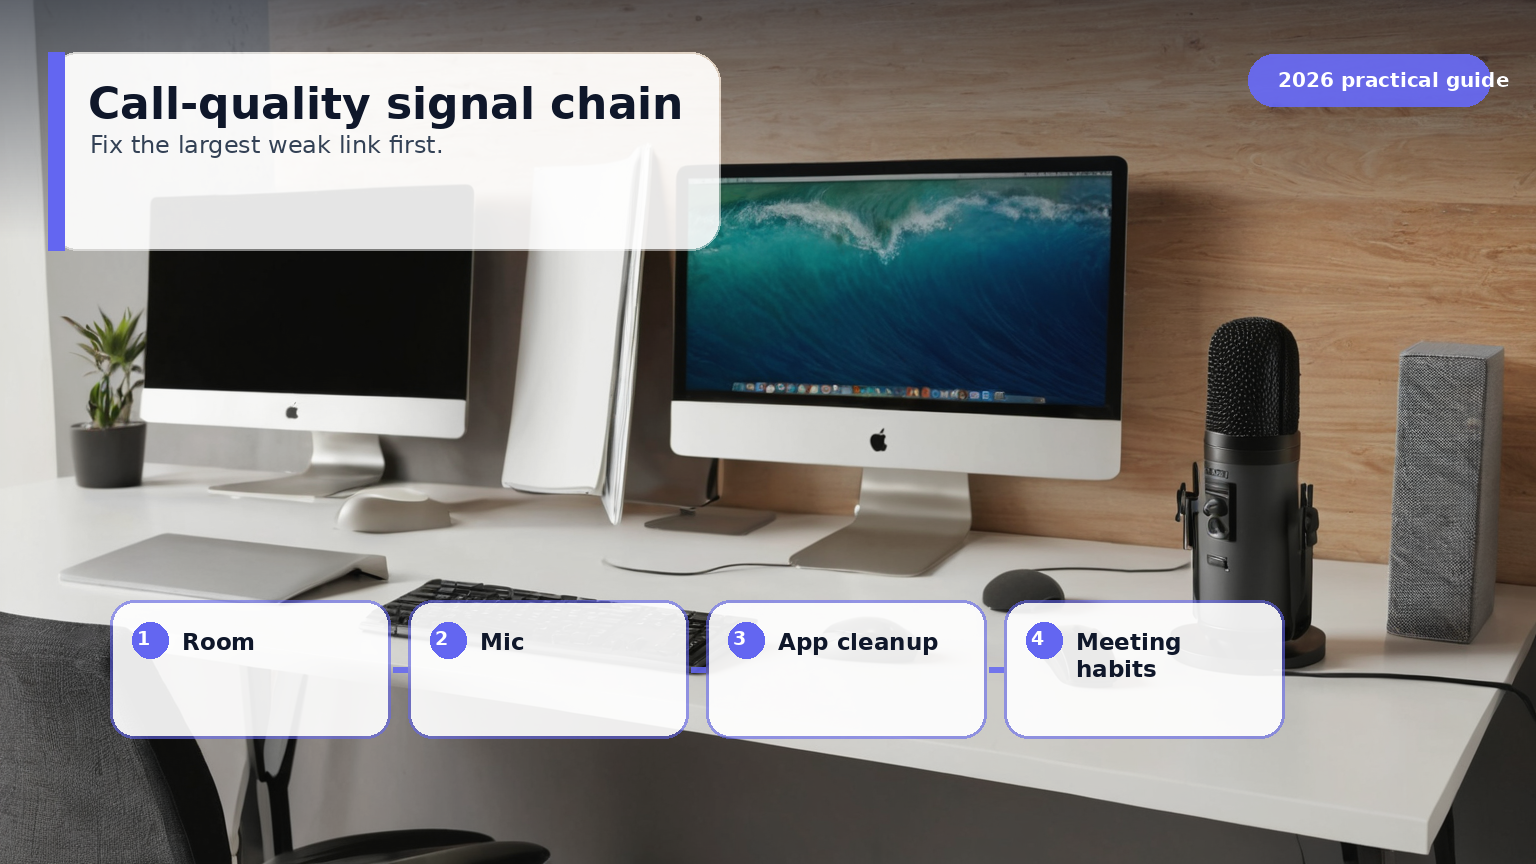
Clear call audio is built in layers. The room controls reflections and background noise. The microphone controls distance, directionality, and gain. The meeting app tries to clean up what remains. If you reverse that order and rely on software alone, the app may remove noise but also clip speech, distort music, or make you sound like you are talking through a gate.
Think of the system as a chain:
- Noise source: HVAC, road noise, family activity, pets, keyboard, chair, and computer fans.
- Room response: hard walls, bare windows, wood floors, glass desks, and corners amplify or reflect sound.
- Capture: microphone distance, angle, polar pattern, and input gain decide what gets recorded.
- Processing: Teams, Zoom, Meet, device drivers, and headset firmware suppress, compress, and equalize.
- Listener fatigue: the other person hears the final result and either relaxes or works harder to understand you.
The best home-office acoustic plan is not a studio build. It is a sequence of small reductions: fewer noise sources, shorter mic distance, softer reflection zones, and less aggressive software cleanup.
Measure the room before buying anything
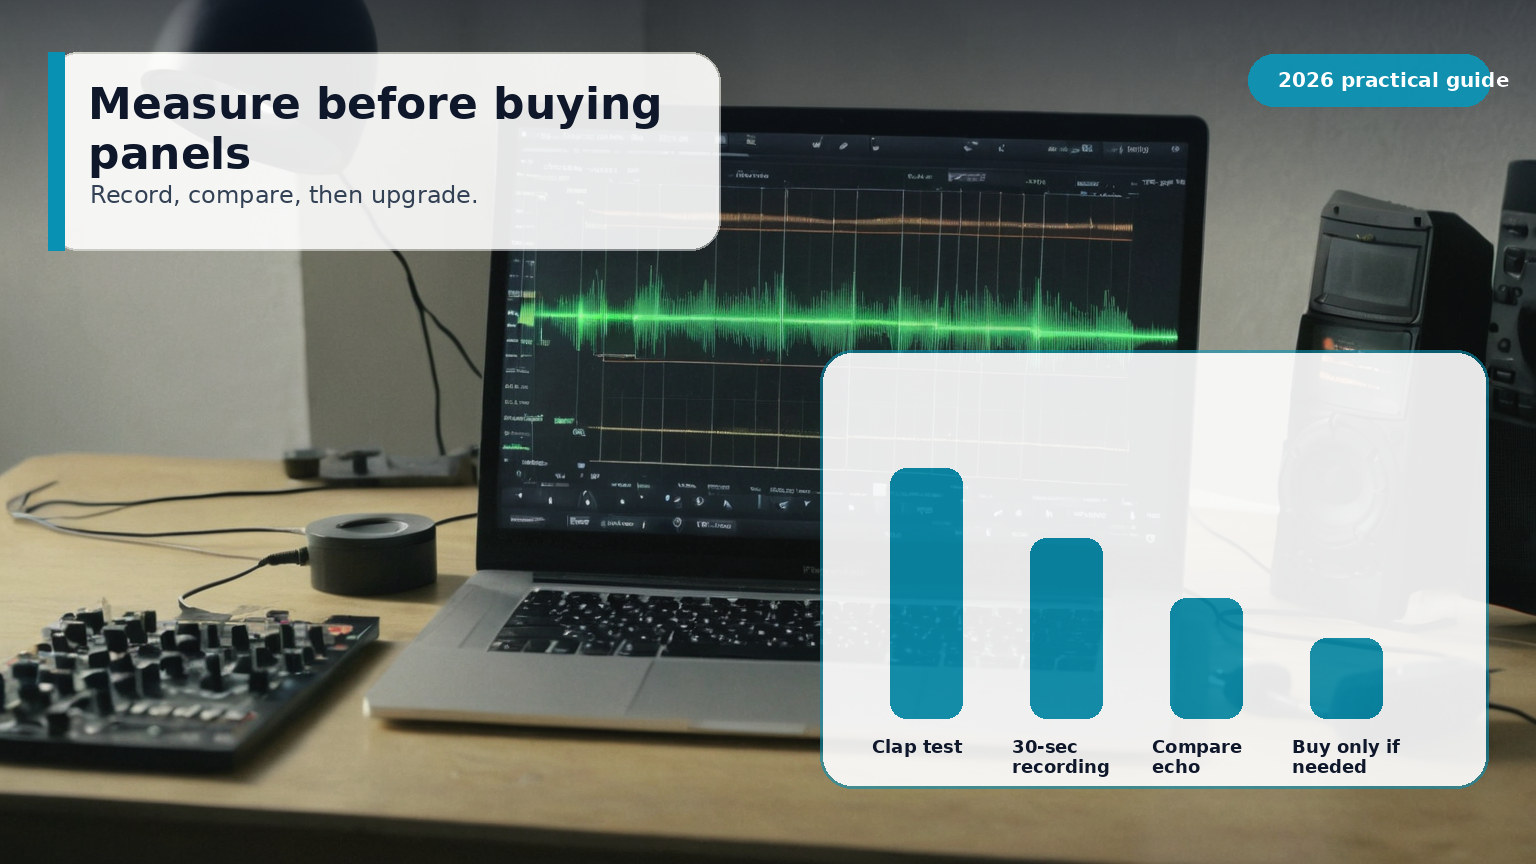
You do not need a certified acoustic measurement kit for remote-work decisions. You need repeatable observations. Stand or sit where you normally speak and record three ten-second samples: silence, normal speaking, and typing while speaking. Then listen through ordinary earbuds, not studio monitors. If you hear the room, the call hears the room.
CDC NIOSH and OSHA materials focus on hearing-risk noise levels, not video-call polish, but they are useful reminders that noise should be treated as an exposure and environment problem, not just a comfort problem. The EPA also frames indoor air and building conditions as systems; that matters because HVAC noise, closed doors, ventilation, and comfort interact. Do not seal yourself in a silent room that becomes hot, stale, or distracting.
Use this simple baseline log:
| Test | What to do | What a good result sounds like | Common fix |
|---|---|---|---|
| Silent room | Record 10 seconds with no talking | Very low hiss or steady room tone | Turn off desk fan, move laptop, close noisy window |
| Voice only | Read one paragraph at meeting volume | Voice is close, stable, and not boomy | Move mic closer, reduce input gain |
| Typing while talking | Type a message while reading | Voice remains dominant over keys | Use headset, move keyboard off-axis, add desk mat |
| Clap test | Clap once near the desk | Short decay, no metallic flutter | Add rug, curtains, shelf, or wall absorption |
| Door/window test | Open and close likely leak paths | Noise change is obvious and controllable | Weatherstrip, choose another room, shift call times |
Avoid chasing exact decibel targets unless you have calibrated equipment. For most remote workers, the key question is whether the background competes with speech. If your room is quiet enough that your voice can be recorded close to the mic without aggressive suppression, you are on the right path.
Fix the physical room in the cheapest order
Acoustic treatment is often marketed as black foam squares. In a real home office, the first improvements are usually ordinary materials placed thoughtfully.
Start with the floor. A bare wood or tile floor between your mouth and the nearest wall makes speech brighter and more reflective. A rug under the chair and desk reduces foot noise, chair movement, and early reflections. If you use a standing desk, choose a mat that does not squeak under load.
Next, treat the wall you face and the wall behind you. When you speak toward a bare wall, your voice reflects back into the microphone a few milliseconds later. That delay creates the hollow sound people associate with laptop microphones. A thick curtain, bookcase with irregular depth, fabric pinboard, framed textile, or broadband acoustic panel can all help. Thin decorative foam may reduce a little high-frequency flutter but will not solve low-frequency room boom.
Then soften the window path. Glass is reflective, and windows often leak outside noise. Heavy curtains improve both reflection and privacy, while weatherstripping helps with traffic or neighbor noise. If the window must stay open for ventilation, solve the call with microphone distance and scheduling instead of pretending software will erase the street.
Finally, control desk noise. A large desk mat dampens keyboard impact and mouse movement. Move a mechanical keyboard farther from the microphone and angle the mic so the keyboard sits in the rejection zone. If your laptop fan ramps during screen sharing, raise the laptop on a stand, clear vents, and keep high-load apps closed during important calls.
Choose the right microphone behavior, not the fanciest microphone
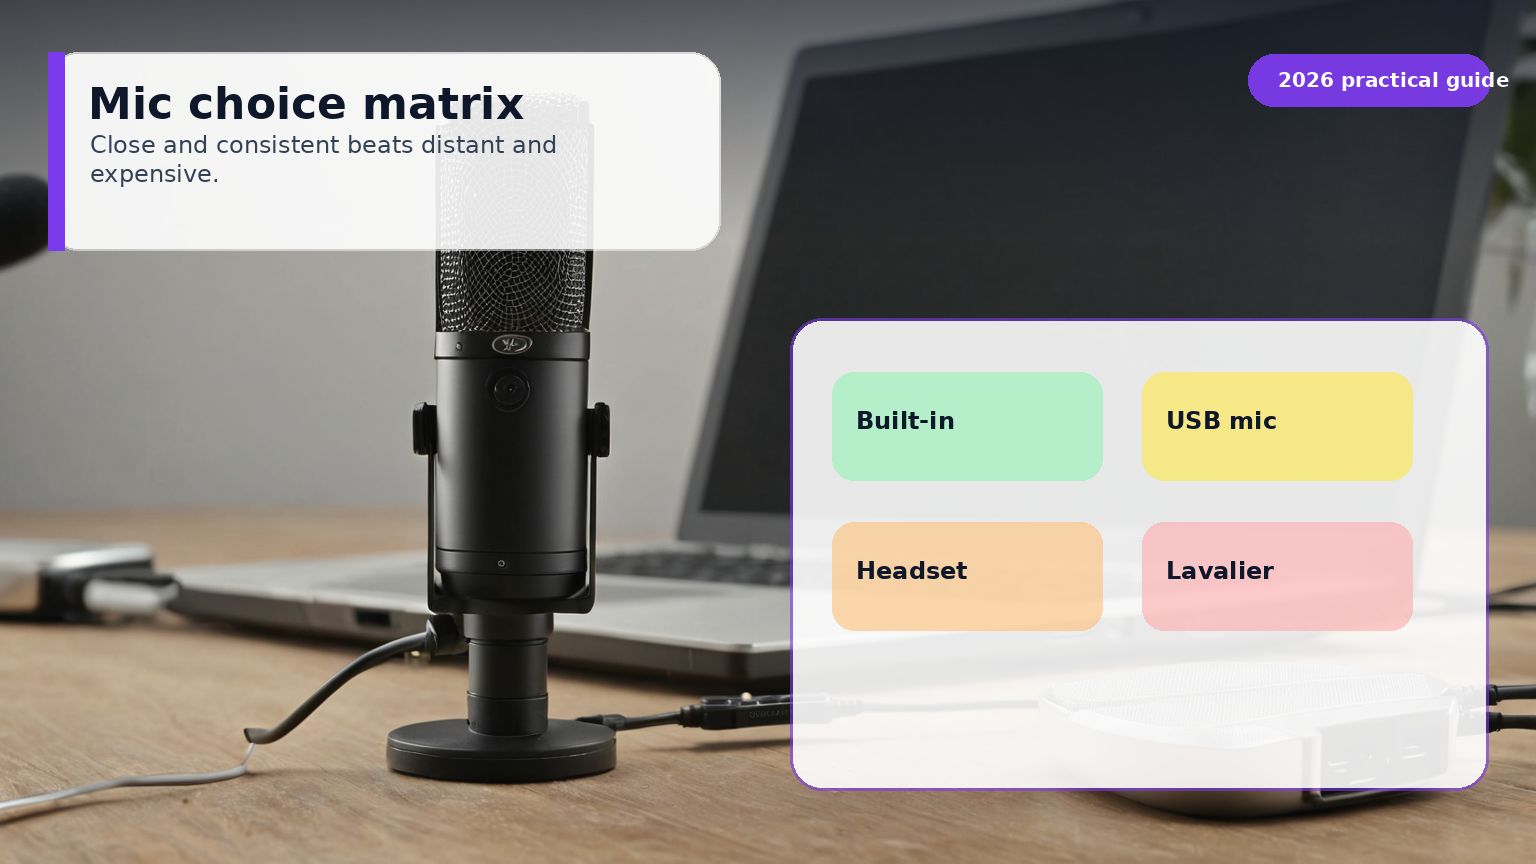
The best microphone for an untreated office is usually the one closest to your mouth without being annoying. That is why a business headset often beats a beautiful desktop condenser microphone. Distance is brutal: every extra inch lets the room and keyboard compete with your voice.
Use these rules:
| Situation | Best capture choice | Why it works | Watch out for |
|---|---|---|---|
| Noisy home, kids, pets, street | Boom headset | Mic stays close and consistent | Comfort over long calls |
| Quiet office, occasional recordings | Dynamic USB/XLR mic on arm | Rejects more room than many condensers | Needs correct gain and placement |
| Very quiet treated room | Condenser desktop mic | Detailed, natural voice | Picks up keyboard and reflections |
| Frequent travel | Wired earbuds or compact headset | Predictable and policy-friendly | Cable noise and weak inline mics |
| Shared room | Headset plus push-to-talk discipline | Protects others from room noise | Must test mute shortcuts |
If you use a desk mic, place it 6 to 10 inches from your mouth, slightly off to the side to reduce plosives, and away from the keyboard. Lower the input gain until normal speech does not clip. Do not place the mic centered between your mouth and keyboard; that is how the keyboard becomes a co-host.
Tune Teams, Zoom, and Meet after the room is stable
Meeting apps now include useful noise suppression and automatic gain features. Microsoft Teams, Zoom, and Google Meet all document options for managing audio devices and reducing background noise. Use them, but test them with your actual workflow.
For speech-only meetings, background noise suppression is usually worth enabling. It can reduce fans, typing, and intermittent household noise. For music lessons, product demos with sound, podcast-style recording, or any call where non-speech audio matters, aggressive suppression can damage the content. In those cases, use the platform’s original-sound or high-fidelity options when available and control the room physically instead.
A stable setup for most remote workers looks like this:
- Select the intended microphone explicitly instead of relying on auto-device switching.
- Keep input gain manual or stable when possible; automatic gain can pump background noise upward during pauses.
- Enable normal noise suppression for everyday calls and test high suppression only when necessary.
- Use headphones when echo cancellation struggles or when the room has reflective surfaces.
- Record a private test meeting after each major settings change.
Do not stack every enhancement from every layer. A headset with built-in processing, operating-system noise reduction, and meeting-app high suppression can over-process speech. If your voice sounds watery, lispy, or clipped, disable one layer at a time and retest.
Build a 45-minute acoustic reset
Most rooms can be improved in one focused session:
Minutes 0-5: record the baseline. Capture silence, speech, typing, and a clap test. Save the samples so you do not rely on memory.
Minutes 5-15: remove noise sources. Close the loudest window, move the laptop off the desk surface if it vibrates, turn off unnecessary fans, silence notifications, and move chargers or docks that produce coil whine.
Minutes 15-25: shorten the mic path. Bring the mic closer, switch to a headset, or move the desktop mic onto an arm. Set gain again after changing distance.
Minutes 25-35: add soft surfaces. Put a rug or mat under the work zone, hang curtains, place a fabric board or bookshelf near the reflection zone, and move the desk so you are not speaking directly into a bare wall.
Minutes 35-45: tune software and record again. Select the correct device, set noise suppression to a normal level, record a private meeting, then compare it to the baseline.
The comparison matters. Your ear adapts quickly. A before-and-after recording makes the improvement obvious and prevents you from buying products to solve a problem that is already gone.
A room-by-room playbook
Bedroom office. Soft furnishings are already helpful, but closets and corners can create boom. Face curtains or a fabric surface rather than a bare wall. Keep laundry baskets and blankets out of camera view but do not be afraid to use soft materials off-camera.
Kitchen or dining room. Hard surfaces dominate. Use a headset, add a rug if possible, avoid placing the laptop on a glass table, and schedule serious calls away from appliance cycles. A refrigerator compressor is not loud like a siren, but it is steady and close enough to annoy a microphone.
Shared living room. The issue is interruption and distance. A boom headset, push-to-talk habit, and calendar signaling often matter more than panels. Use a bookshelf, curtain, or room divider to break the path between family noise and the microphone.
Small spare room. Small rooms can sound boxy because reflections arrive quickly. Avoid sitting exactly in the center. Add absorption behind the monitor and on one side wall. Keep the door from rattling, and test whether opening a closet full of clothes improves the sound.
Echo-heavy minimalist office. Minimalism looks clean on camera but often sounds bad. Add hidden soft treatment: rug, upholstered chair, thick curtains, acoustic art panel, cork board, and plants with irregular leaves. You do not need a studio wall; you need fewer parallel hard reflections.
What not to buy first
Do not start with a pack of thin foam tiles unless the problem is clearly high-frequency flutter echo and you know where to place them. Do not buy a premium condenser microphone for a noisy room. Do not buy a portable vocal booth that blocks your screen or makes the desk uncomfortable. Do not buy active noise-cancelling headphones expecting them to remove noise from your outgoing microphone; ANC helps what you hear, while mic noise control helps what others hear.
Also be careful with sealed rooms. Lower noise is good, but comfort and ventilation still matter. EPA indoor-air guidance is a reminder that home office changes should not trade clear audio for poor air, heat buildup, or headaches. If closing a door makes the room stuffy after 30 minutes, improve the mic and reflection control rather than simply sealing the room harder.
The practical target
The practical target is not silence. It is intelligible, stable speech that lets other people stop thinking about your audio. When your voice is close, the room is softened, avoidable noise is reduced, and app settings are predictable, meetings feel less tiring. That is the real productivity gain: fewer repeats, fewer apologies, fewer distracted listeners, and more confidence when you speak.
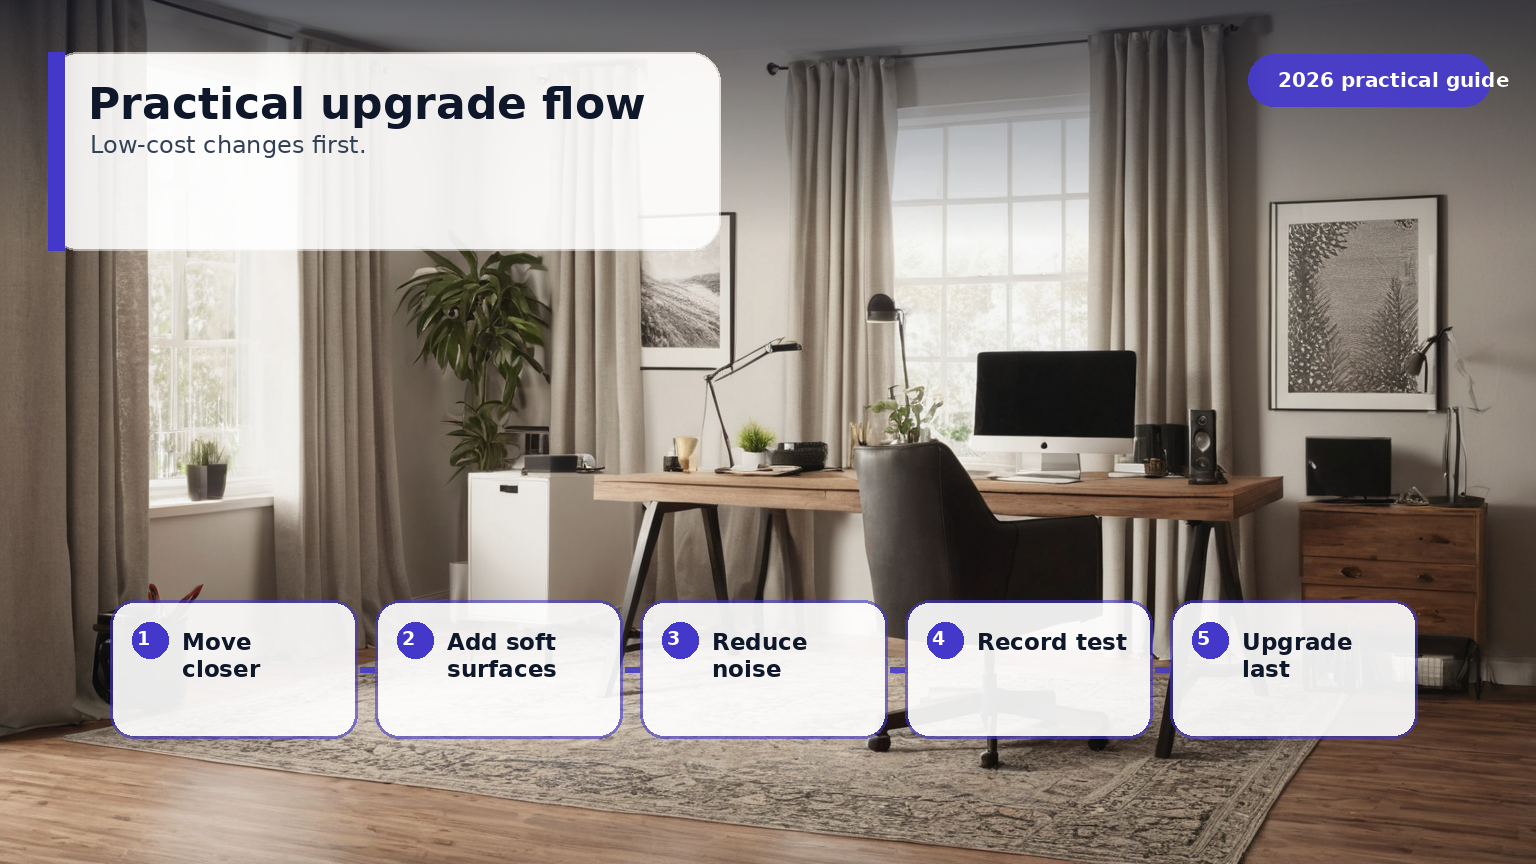
For most remote workers, the upgrade order is simple: record the room, move the mic closer, add soft surfaces where sound bounces, reduce mechanical noise, then tune Teams, Zoom, or Meet. Buy products only after the recording tells you what remains.
Sources and latest review
Latest review: 2026-05-25. Key sources used for this guide:
- CDC NIOSH: About Noise and Hearing Loss
- OSHA: Occupational Noise Exposure
- OSHA Computer Workstations eTool
- Microsoft Support: Manage audio settings in Teams meetings
- Zoom Support: Audio settings for Zoom meetings
- Google Meet Help: Filter out noise from your meeting
- EPA: Improving Indoor Air Quality
- EPA Archive: Noise and Its Effects