USB-C Dock Troubleshooting for Remote Work: Cable, Power, Display, and Meeting Fallbacks
A practical USB-C dock troubleshooting checklist for remote workers: identify cable limits, power delivery issues, display failures, audio drops, and meeting-day fallbacks.
Updated May 29, 2026. USB-C and Thunderbolt capabilities change by device generation, cable, operating system, and dock firmware. Use this guide as a troubleshooting workflow, then confirm exact specifications from your laptop and dock vendor before buying replacement hardware.
A dock failure during a client call feels random, but most failures follow a small set of patterns: the cable does not support the needed mode, the dock lacks enough power, the monitor is on the wrong path, the operating system cached a bad state, or the desk setup has become too complex to diagnose under pressure.
The goal is not to memorize every USB version. The goal is to create a repeatable test path that preserves meetings and avoids buying the wrong replacement.
First: classify the symptom
| Symptom | Likely area | Fastest safe test |
|---|---|---|
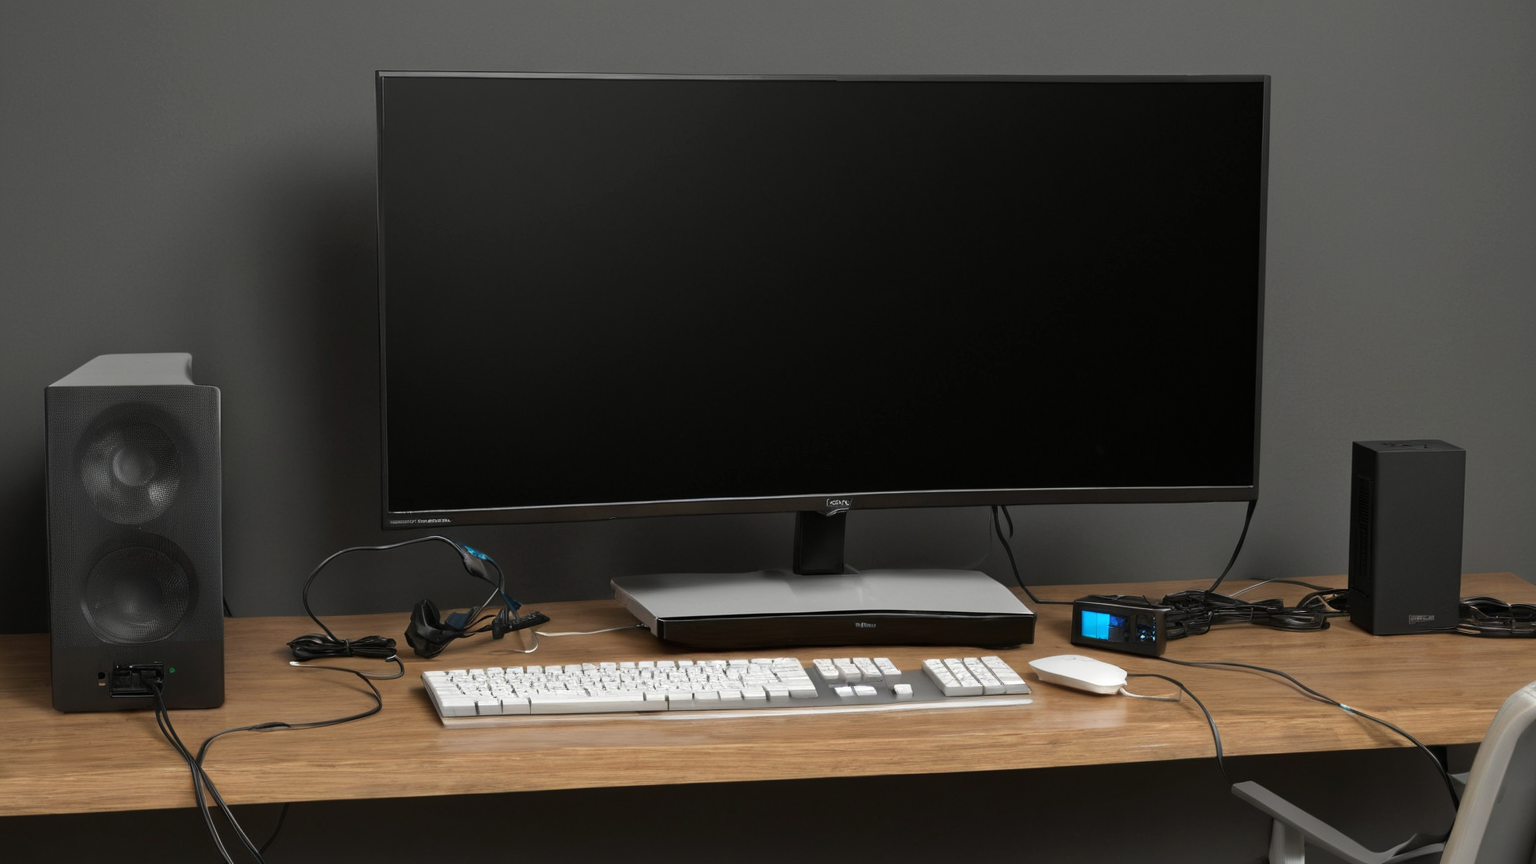
| Laptop charges but monitor stays black | Cable mode, display input, dock video path | Try known video-capable cable and direct monitor input |
| Monitor works but laptop battery drains | Power Delivery wattage or adapter | Use original laptop charger separately |
| Audio device disappears | Dock USB hub reset or OS device selection | Plug headset directly into laptop for the meeting |
| Ethernet drops under load | Dock firmware, cable, power instability | Test Wi-Fi or direct adapter, then update later |
| Everything fails after sleep | OS wake state or dock power cycle | Shut down fully, unplug dock power, reconnect in order |
Write the exact symptom before changing five things at once. If you swap cable, monitor input, dock power, and OS settings simultaneously, you cannot tell which fix mattered.
Step 1: do a cable and port reset
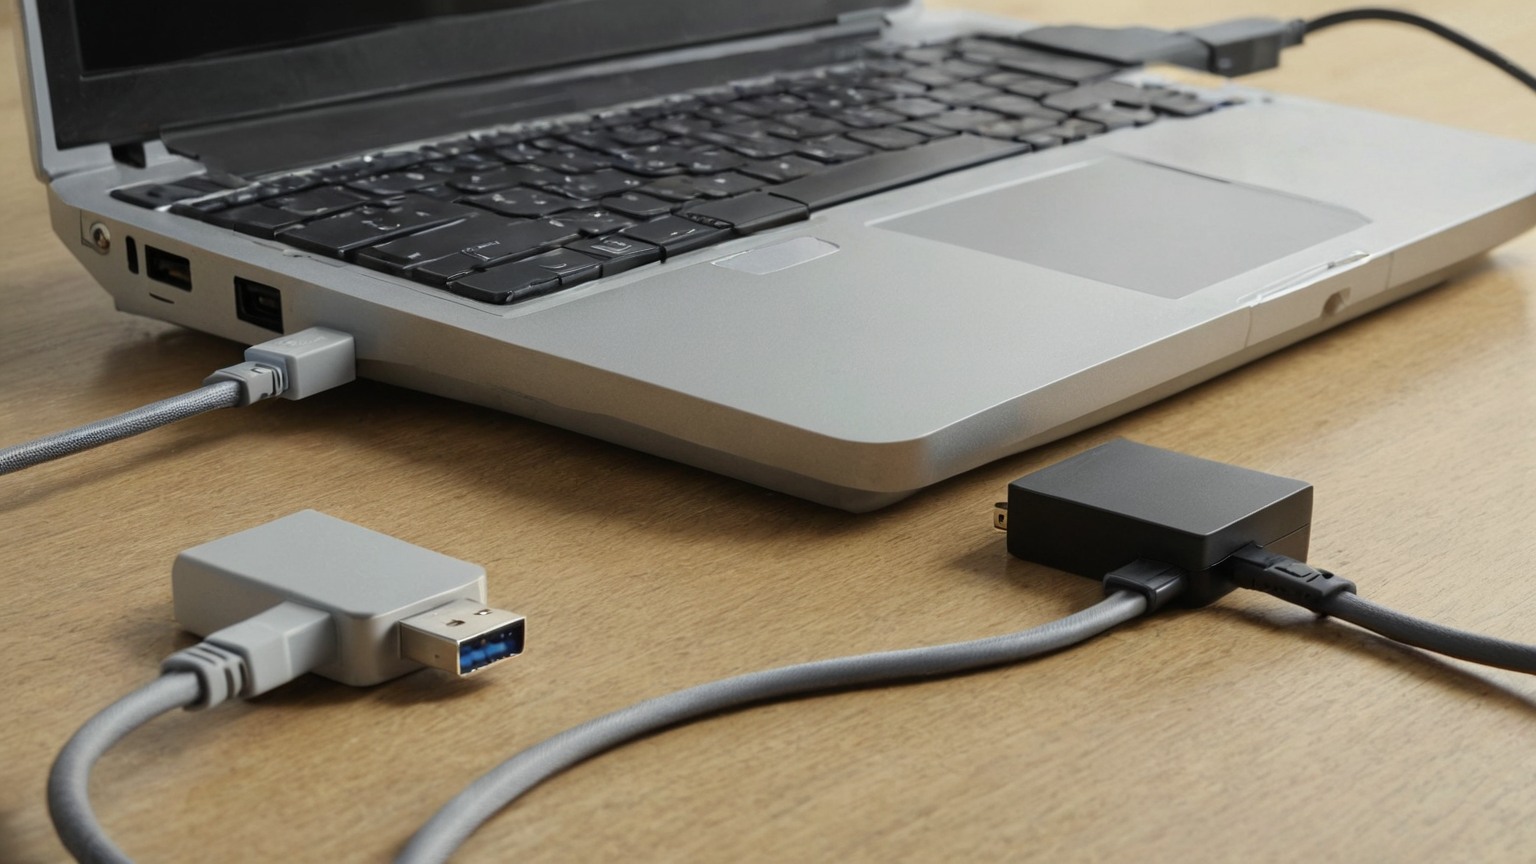
USB-C is confusing because the connector can carry charging, data, display, and Thunderbolt or USB4 modes, but not every cable supports every function. A cable that came with earbuds or a phone may charge a laptop slowly yet fail with a display. A short, marked, full-featured cable from the dock vendor is often the most reliable diagnostic tool.
Test in this order:
- Shut down the laptop instead of only sleeping it.
- Unplug dock power for 30 seconds.
- Connect the dock power adapter first.
- Connect one monitor and one keyboard only.
- Use the known-good dock cable directly into the laptop, no hub or extender.
- Add devices back one at a time.
If the problem disappears with fewer peripherals, you may not have a broken dock. You may have an overloaded or unstable chain.
Step 2: separate power from video
Power Delivery and display output are different problems. A dock can pass video while underpowering the laptop, or charge correctly while failing to negotiate the display path. During troubleshooting, use the laptop’s original charger if possible. That removes one variable and prevents a long meeting from turning into a battery emergency.
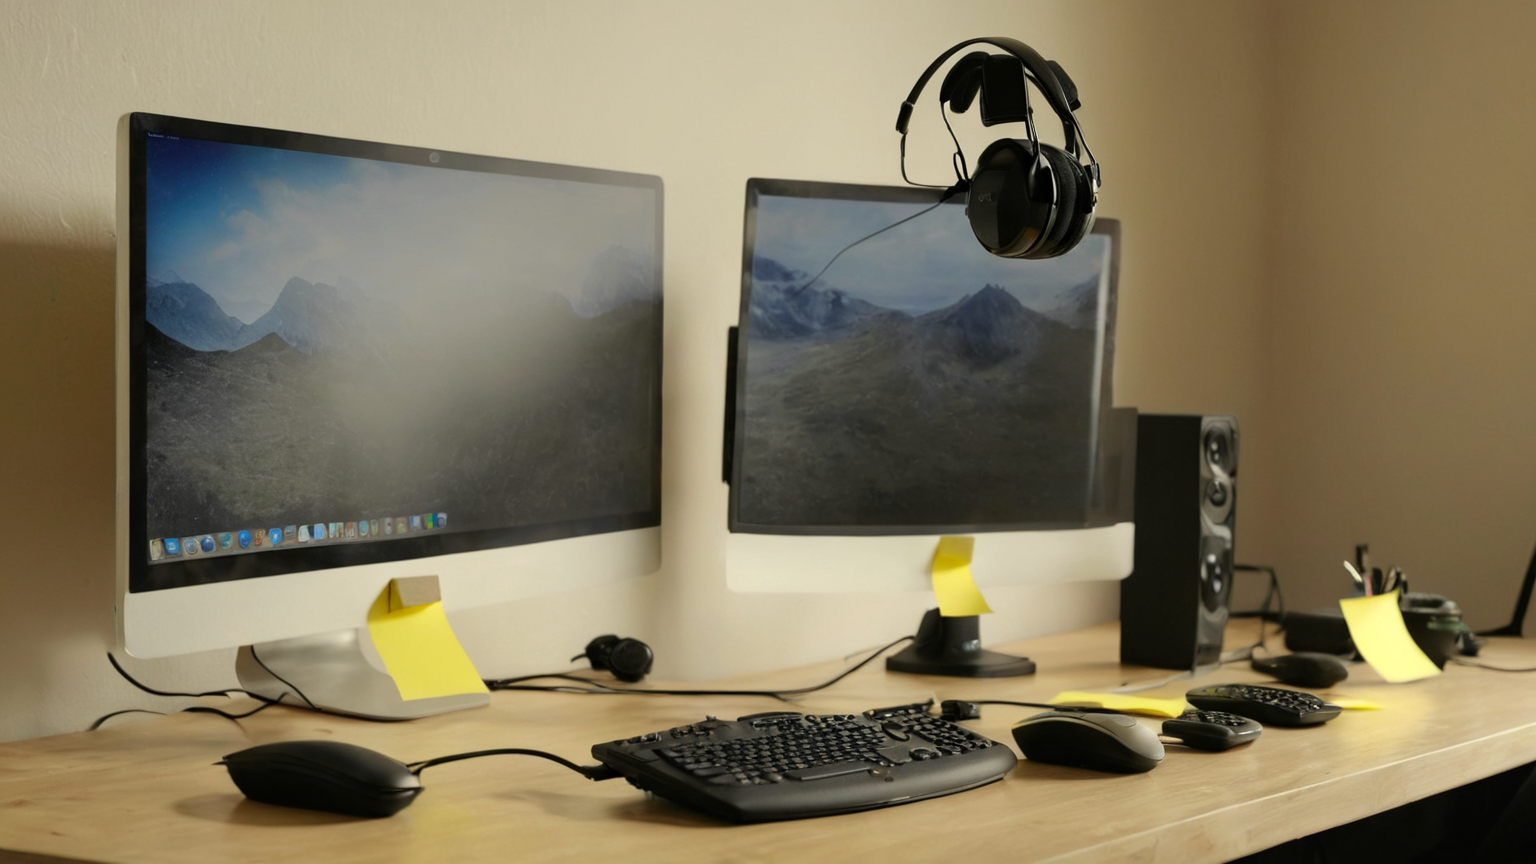
For display problems, check the monitor input, refresh rate, cable type, and laptop display settings. Lowering refresh rate or resolution can reveal whether the dock is hitting a bandwidth limit. For dual-display setups, test one external display first, then add the second.
Step 3: protect the meeting before you fix the desk
Do not troubleshoot a complex dock stack five minutes before a high-stakes call. Build a fallback kit:
- laptop charger that bypasses the dock;
- headset that can connect directly by USB, 3.5 mm, or Bluetooth;
- webcam plan using the laptop camera if the external camera fails;
- phone hotspot or alternate network if dock Ethernet drops;
- one direct HDMI or USB-C display cable if the dock display path fails.
The fallback is not elegant, but it keeps work moving. Schedule deeper updates after the call.
Step 4: rebuild the desk deliberately
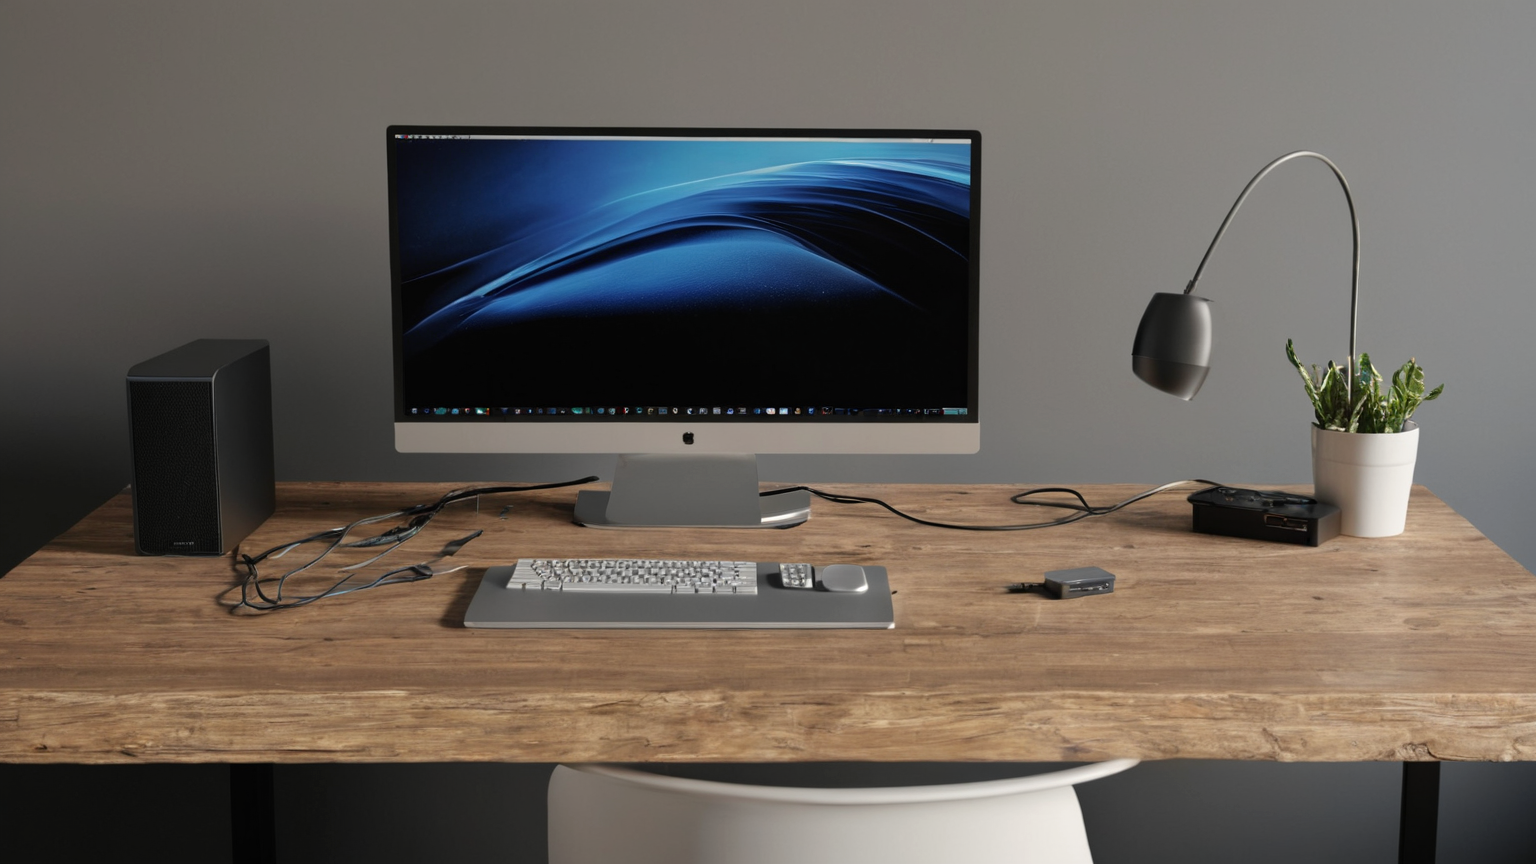
Once the setup works, tidy it without hiding the diagnostic path. Label cables with color bands or a private diagram, not readable public labels. Leave enough slack at the dock so moving the laptop does not torque the port. Avoid chaining cheap adapters when one certified cable would do.
Ergonomics still matter. A perfect dock is not useful if the monitor height forces neck strain or the keyboard lands too far away. Put the primary screen centered, keyboard and mouse close, and the dock somewhere reachable enough to power-cycle without dismantling the desk.
When replacement is justified
Replace hardware after you can name the failure. Good reasons include: the dock cannot provide enough wattage for your laptop, it cannot support the required display count or refresh rate, it repeatedly disconnects after firmware updates and cable tests, or its power adapter is damaged. Bad reasons include vague frustration, one bad cable, or a monitor input left on the wrong source.
Troubleshooting checklist
- Keep one known-good, full-featured USB-C or Thunderbolt cable for tests.
- Confirm dock power adapter wattage and laptop charging needs.
- Test one monitor before dual displays.
- Keep a direct headset and charger path for meetings.
- Update dock firmware only when you can recover if the update fails.
- Document the working cable order so future you can restore it quickly.
Bottom line
The best remote-work dock setup is not the fanciest one. It is the one you can diagnose calmly: cable first, power second, display third, meeting fallback always. That order saves money and protects the workday.