Monitor Arm Ergonomics: Set Height, Distance, and Dual Screens Without Neck Pain
A practical home-office monitor-arm setup guide covering eye line, screen distance, dual-display priority, cable slack, and sit-stand resets.
Updated May 28, 2026. This guide uses public ergonomics guidance as a practical setup routine, not medical advice. If you have persistent pain, numbness, headaches, or vision symptoms, consult a qualified health professional and review your full workstation.
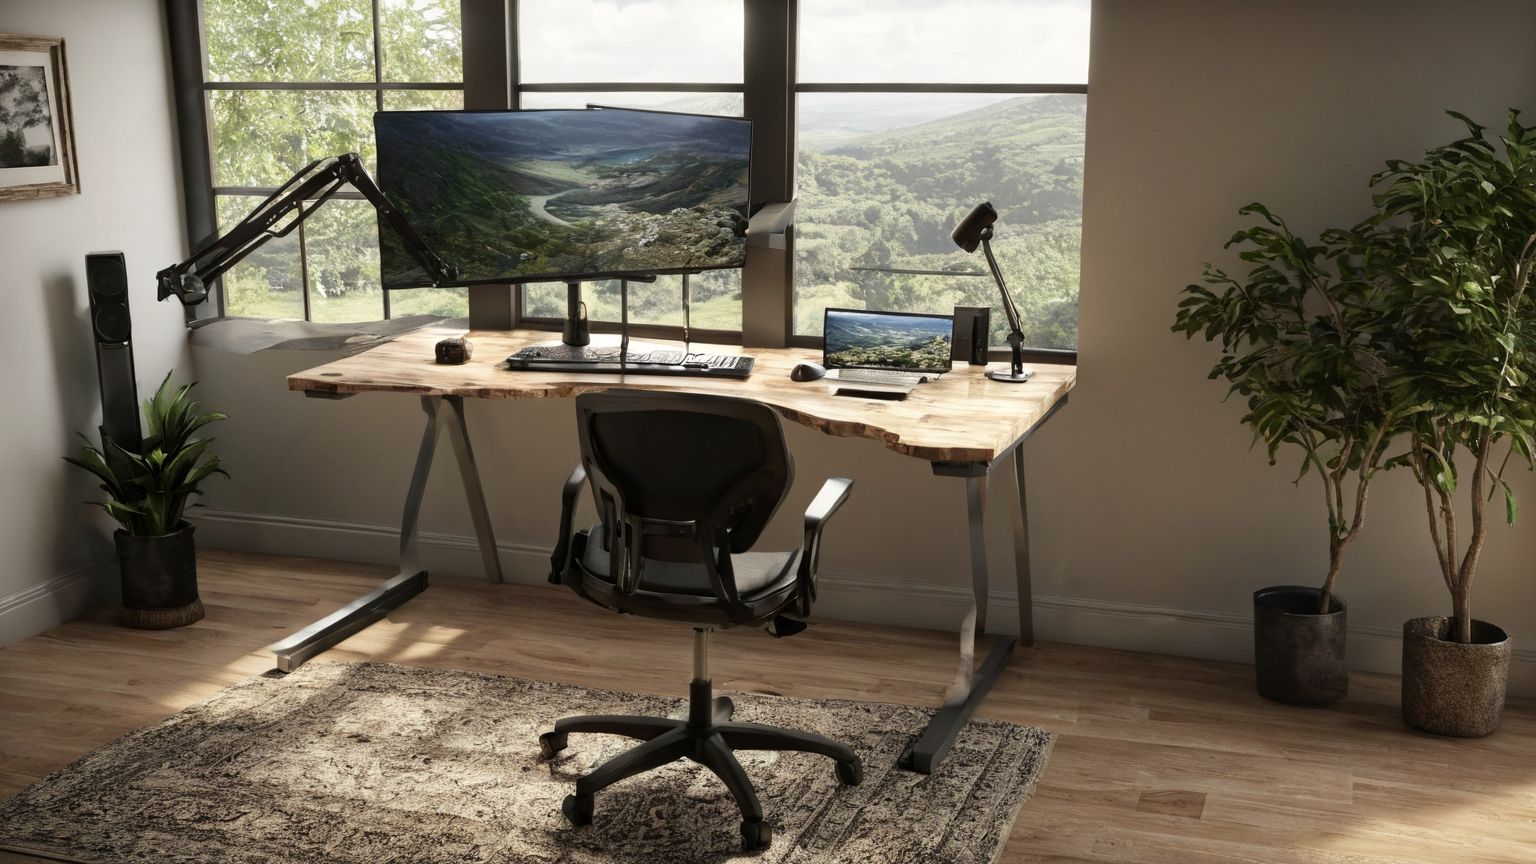
A monitor arm is useful only if it solves a real fit problem. The best setup keeps the main screen centered, reduces neck rotation, avoids glare, and lets you change posture without rebuilding the desk every morning.
The five-minute baseline
| Check | Good starting point | If it feels wrong |
|---|---|---|
| Height | Eyes near the top third of the screen | Lower for progressive lenses; raise if you hunch |
| Distance | About an arm’s length for many displays | Move larger displays farther back |
| Centering | Primary screen in front of your torso | Center the screen you use most |
| Glare | No bright window reflection | Rotate desk or add shade before buying lights |
| Input | Keyboard and mouse close | Arm cannot fix overreaching |
Step 1: set the chair and keyboard first
Before touching the arm, set your chair so feet are supported and shoulders can relax. Put the keyboard and mouse where elbows stay near your sides. If your desk is too high, a monitor arm will make the screen look better while your shoulders still work too hard.
Once input height feels reasonable, bring the monitor to you. The screen should not force a forward head posture. If you catch yourself craning toward tiny text, increase font scaling or move the monitor closer rather than leaning all day.
Step 2: use eye line as a starting point, not a law
A common starting point is placing the top of the viewing area around eye level, with the screen slightly below straight-ahead gaze. But the right position changes with screen size, glasses, and task. People using progressive lenses often need the monitor lower to avoid tilting the head back.
Try this test: sit back, close your eyes, relax your shoulders, then open your eyes. If you naturally look above the content, lower the display. If you immediately tuck your chin or round forward, raise or bring it closer.
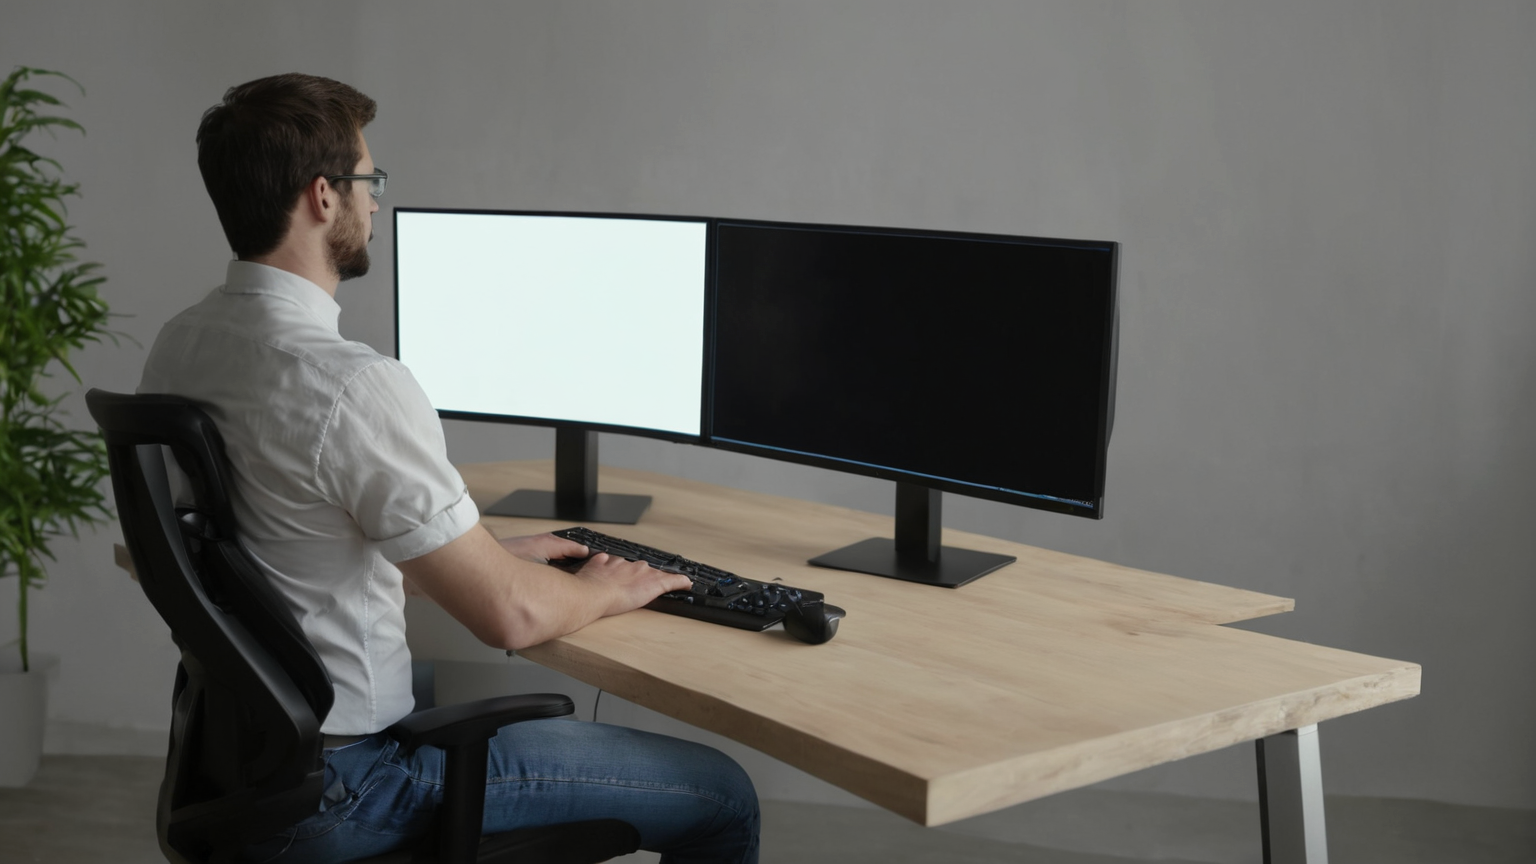
Step 3: make dual screens asymmetric on purpose
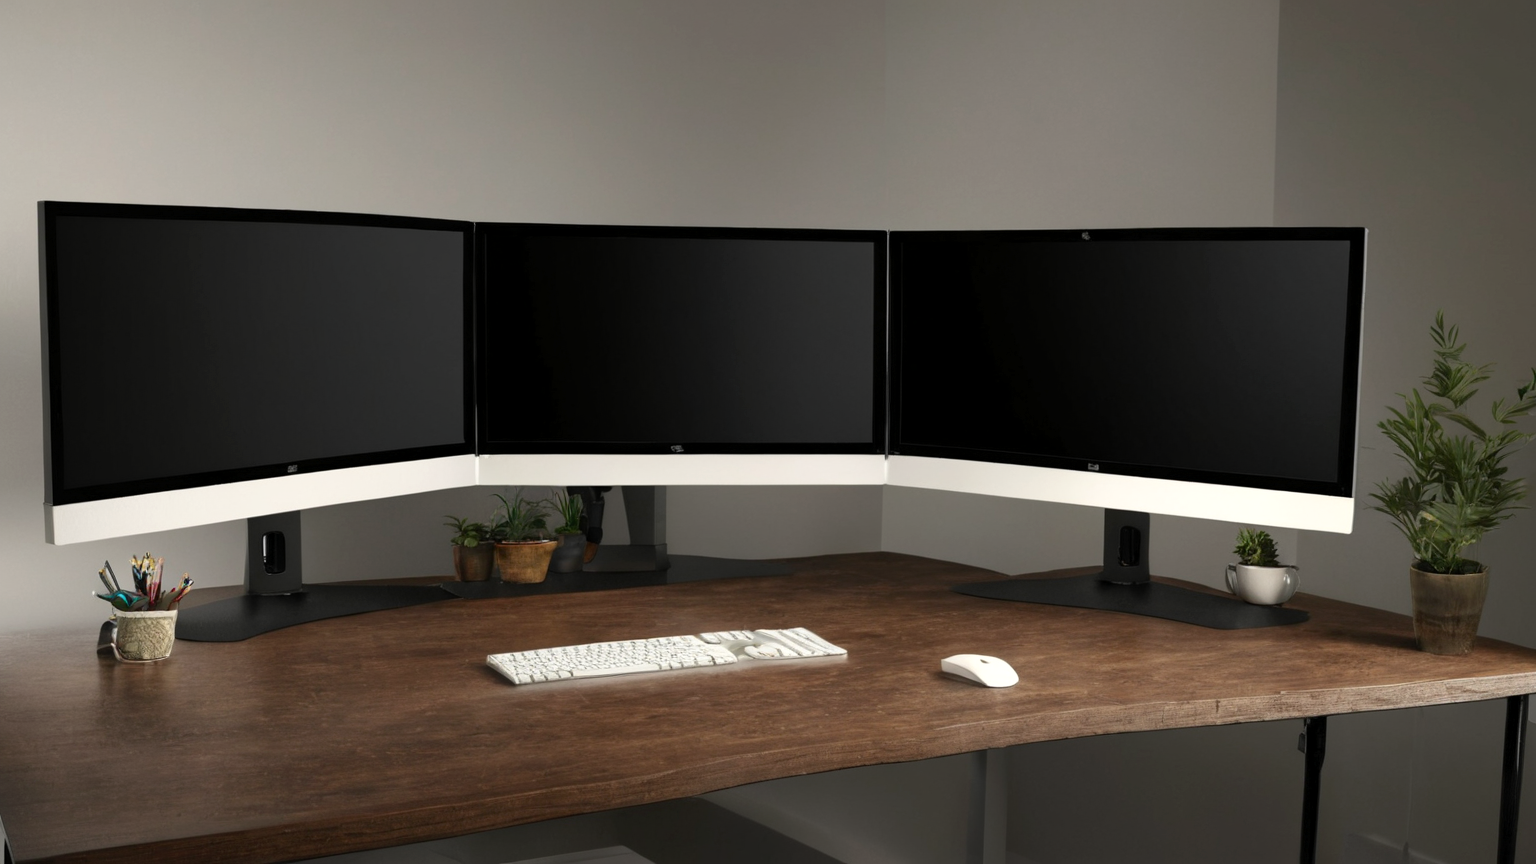
Dual monitors are easiest on the neck when one is clearly primary. Put the primary display directly in front. Place the secondary display close to the side and angled inward, not far away like a second desk.
| Work pattern | Layout |
|---|---|
| Coding plus preview | Primary code centered; preview angled close |
| Video calls plus notes | Camera screen centered; notes to the side |
| Spreadsheet across two screens | Consider one larger centered display instead |
| Frequent equal use | Put the seam directly in front only if both screens are identical and close |
If you rotate your neck hundreds of times per day, the layout is wrong even if it looks impressive in a photo.
Step 4: check clamp, cable slack, and weight
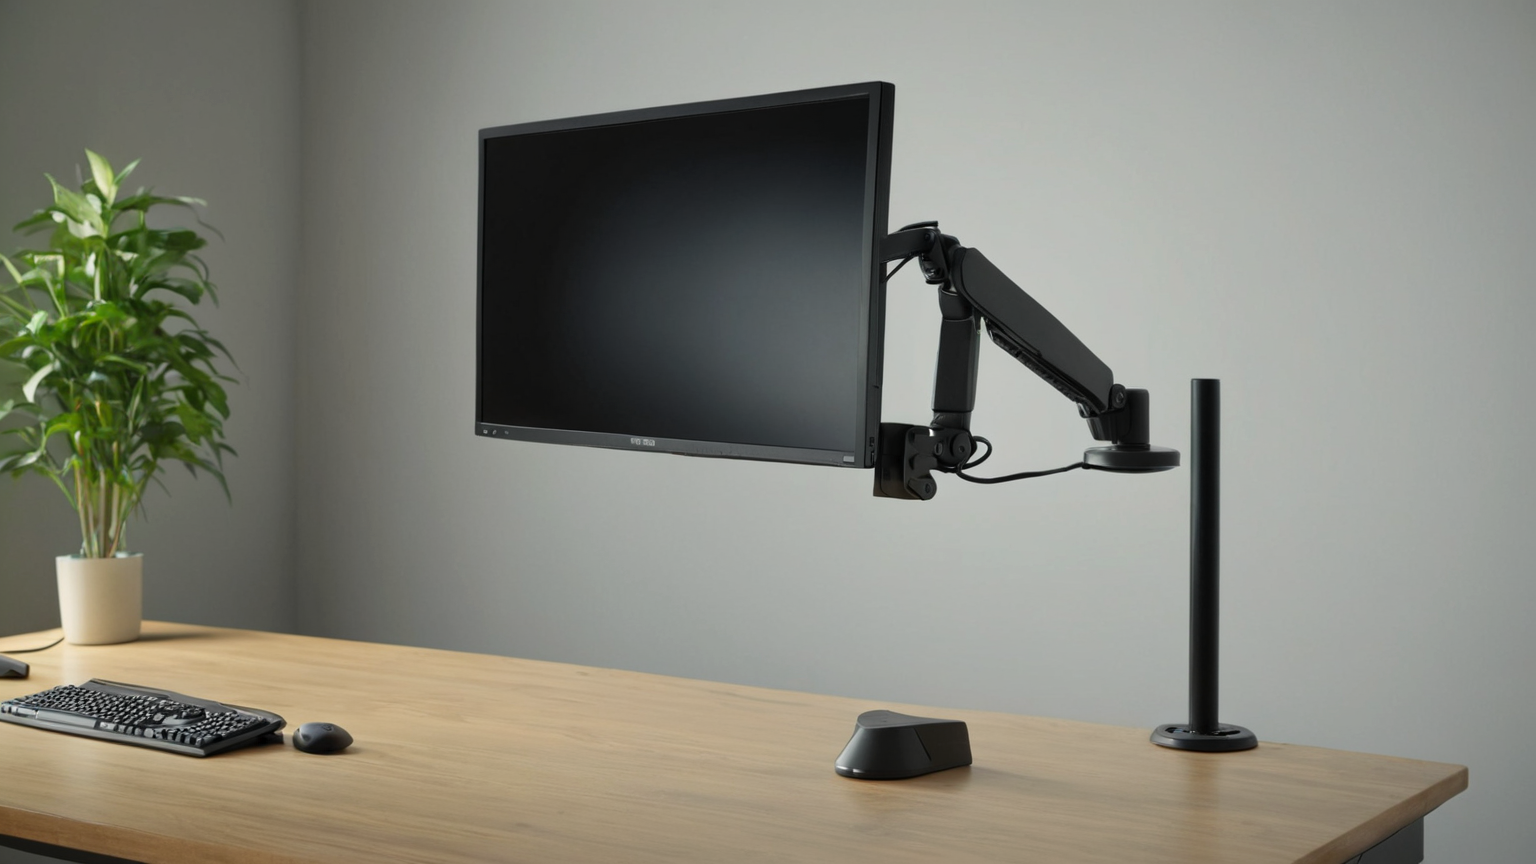
Monitor arms have weight ranges and desk-clamp requirements. A heavy ultrawide on a weak tabletop can sag, wobble, or damage the desk. Confirm the arm supports the monitor weight without the stand, and use the clamp or grommet mount as designed.
Leave enough cable slack for the full range of motion. Tight cables can pull a laptop dock, stress ports, or make the arm resist adjustment. A tidy cable loop is safer than a cable stretched perfectly straight.
Step 5: create a sit-stand reset

If you use a standing desk, mark two positions: sitting and standing. The screen often needs a slight height and tilt change when you stand. Do not accept a standing position that makes you look down at a laptop or up at a wall-mounted display.
A good two-minute reset before deep work:
- Chair or standing height set.
- Keyboard and mouse close.
- Main screen centered.
- Text large enough to read without leaning.
- Glare checked from your actual sitting position.
Bottom line
The monitor arm is not the ergonomic setup; it is the adjustable part of the setup. Start with body position, center the work you use most, keep cables and clamps safe, and re-check the screen whenever your chair, desk height, or lighting changes.